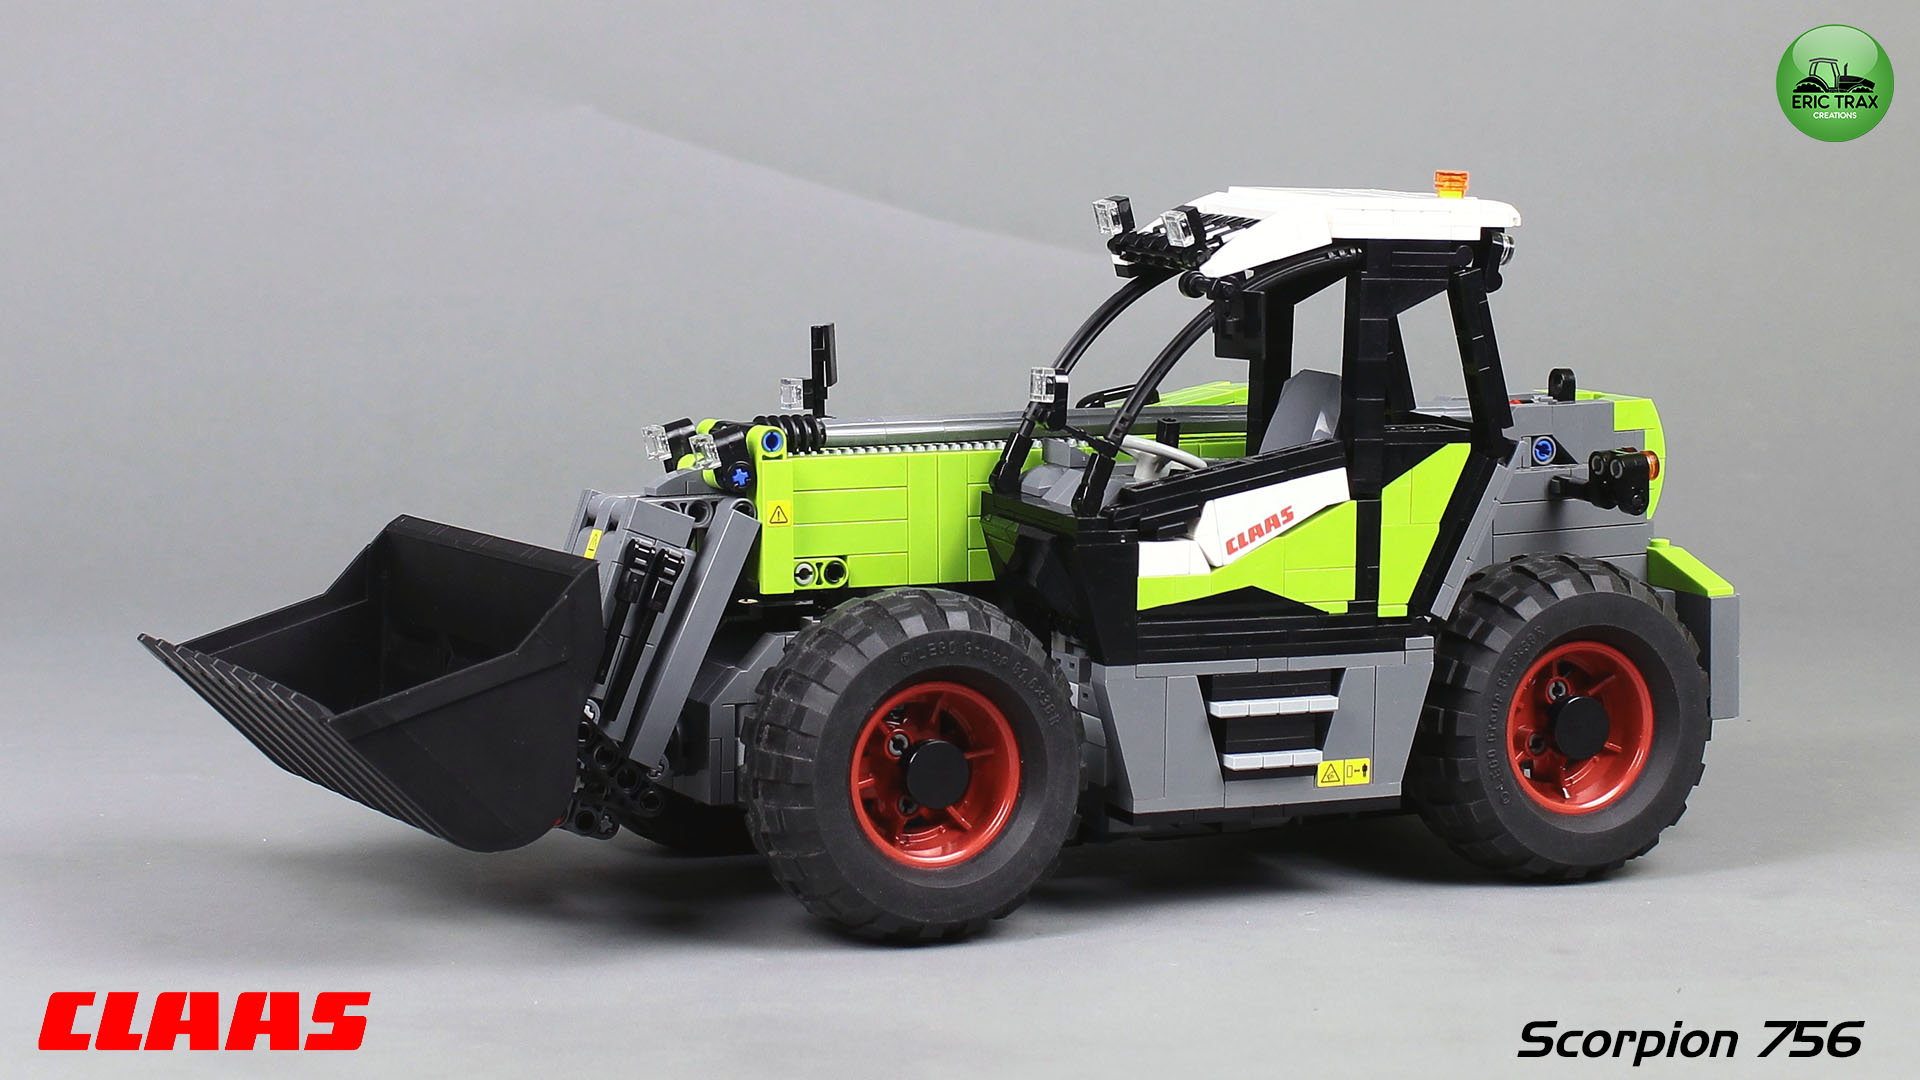
1:17 scale model of CLAAS Scorpion 756 telehandler.
Designed and built by Eric Trax, instructions made by me.
Visit his Facebook page for more great agriculture models:
https://www.facebook.com/Eric-Trax-167670136660216/
Model is completely motorized, with 5 motors (single servo motor, single L motor and three M motors) and controlled by three IR receivers (you need at least one IR remote).
Gallery with images:
https://bricksafe.com/pages/M_longer/misc/claas-scorpion


Video showing it in action:
Parts list in Rebrickable, Bricklink XML, Brickstore and png versions can be found here: https://bricksafe.com/pages/M_longer/misc/claas-scorpion
Or by clicking here:
Rebrickable CSV
Bricklink XML
Brickstore BSX
Sticker sheet in PDF format can be downloaded by clicking here:
https://bricksafe.com/files/M_longer/misc/claas-scorpion/Claas-Scorpion-756-stickers.pdf

These parts lists include a 3L long 3mm rigid hose, more about its usage below:
Before you buy these instructions, please read the following really carefully.
– This model is not recommended for persons under 16 years of age
and those with little experience in building more complex models.
– This model is built on 4x4x4 chassis, which means that all four
wheels are steered and driven. Each wheel use CV Joint, and we really
reccomend cuting some 3mm rigid hose to 0.5 stud/4mm slices and placing
them one by one inside each of the joint.
The reason for that little cheat is related to overall length of
drive axles (3L) and free space inside the CV joint (0.5 stud). That
half stud might cause the 3L axle to slide out from the differential. In
other words – you either need to cut that hose to small slices (more
legal-ish attempt), or you can sacrifice four 4L axles and reduce their
length by half stud and become an outlaw 😉


– If you have built one of our tractors (New Holland TM 140 or Fendt Favorit 514C)
you are quite familiar with Eric’s building style and not-so-friendly
routing of electric wires trough model(s). But this telehandler raises
the bar even more.
– The assembly is likely to take quite a bit of your time. It might
be the reason for nervous breakdowns when it will come to routing the
electric wires around the chassis and, especially under the linear
actuator. Model is extremely dense and there’s only a little space for
all those wires inside. There’s really tight space under the cab, and
all wires must be routed very tightly in given space:

– All wires are colour coded:


– There are three IR receivers, colour coded to Lime, Light Blue
and Tan. Blue one is connected to the battery, but remaining two uses
not so well known ability of IR receivers to be powered from outputs of
other receivers. Both Tan and Lime are connected to Light Blue’s second
output.
– To comfortly play with this model, I reccomend to use at least two IR Remotes.
– Please remember that each receiver must be set to different channel.

– There are three motors located in the telescopic arm (Brown, Green and Orange connected to 50cm extension wire), and connectors of all three can be connected to the IR receivers only after placing the whole arm on the chassis. It also means that for few steps (before placing the floor of the cab) Tan receiver will be not connected to anything (except the wire of course).
– Wire from Orange motor has to be folded in half and placed inside the arm, allowing it to unfold with arm moving forward
– Orange and Brown wires must go trough linear actuator’s bracket (yes, I know, blame Eric for that 😀 ). I strongly advise to test if everyting works (for example – one of the wires, if placed not correctly can rub on gears driving the actuator) before adding those 5L axles on page 95
– Remaining part of the Orange wire must be squeezed in the chassis, allowing the actuator to fit into place after lowering arm to ground position
– Due to way it was built (and assembled) there are no locks on the telescopic arm, which means that model must be controlled with care
– Eric has built this model with using Dark Red wheels, they are quite rare, so model from instructions is using Light Bluish Gray ones.
– Before purchasing, please review the list of required parts. Most of them are widely available, but some lime parts are not so popular.
Instructions can be bought at my store (click on the “Shop” link on top of page, or just here:
https://sellfy.com/m1longer
They can be also bought at Rebrickable:
https://rebrickable.com/mocs/MOC-35607/M_longer/claas-scorpion-756/#bi
Sample pages from instructions:


